- Get link
- X
- Other Apps
Push the ribbon ends through the loop. I would not wash this bag in the washing machine.
 Diy Insulated Catch Bag Youtube
One one of the panels where the pocket is attached place the handle in such a way that the sides of the pocket are covered.
How to make an insulated bag. Stitch up a durable and reusable insulated lunch bag with oilcloth. Now the bag fold on the sides like a paper bag. Get your sew in velcro and pin a strip to the side that will be the inside of your snack bag.
Baste the insulated wadding to the back of bag pieces. 2 pieces plain fabric for flap 18cm x 20cm. These pieces are 10 inch squares.
This delightful cute bag has the following features. The bag is so large and the pulls are so tiny. 1 piece black fabric for top of bag 52cm x 14cm.
Pin folded edge of webbing 2 from top on either side. While they seem to work nicely for delivering frosty food the empties deserve attention. Pin and stitch the lining corners to create a flat bottom in the same way as the cooler bag.
Rub the Velcro to make sure the adhesive bonds with the bag. Stitch around 12 to 14 inches from the bottom and make a 1 square with a cross on the top for strong hold. Sew down the four corners with a 14 seam allowance.
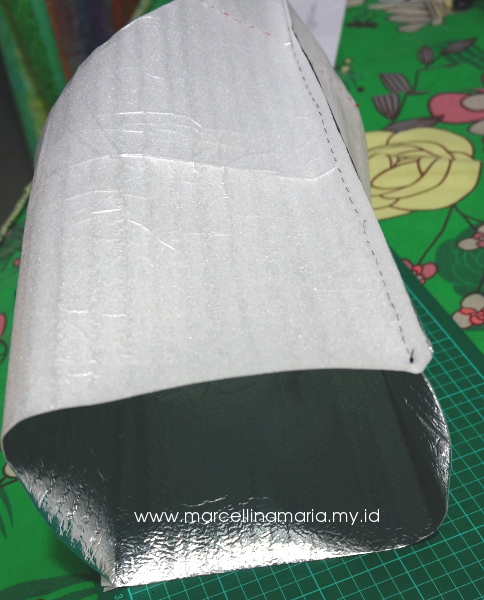
Quilt the fabric scrap at the top I have stitched by eye horizontal and vertical lines. Fold the ribbons in half and push the fold through the zipper pull hole. Cut 75 cm 3 inch squares from the bottom corners of the lining bag.
Thrifted cotton scarves - choose a cotton over a silk fabric for durability Rope - knot each end of a 12 diameter rope and set the knots in your bag seam to secure Old belts - repurpose an old belt by cutting it in half and removing the buckles before securing to your bag. Applique design ready to iron on. Pull the ribbon ends.
A hook-and-loop tape front closure. To learn how to make this equally adorable reusable snack bag click here. 1 piece cord 62cm long.
Measure 2-inches down vertically from the cooler bags opening top edge. Trim seam allowance and turn bag right side out. Place the denim pieces right sides together ensuring your fabric scrapsdenim seams align.
Heres a free pattern for an insulated Lunch Bag to sew. Choose your favorite print or solid oilcloth fabric and combine it with Insul-Bright to. Cut 2 15 pieces of webbing.
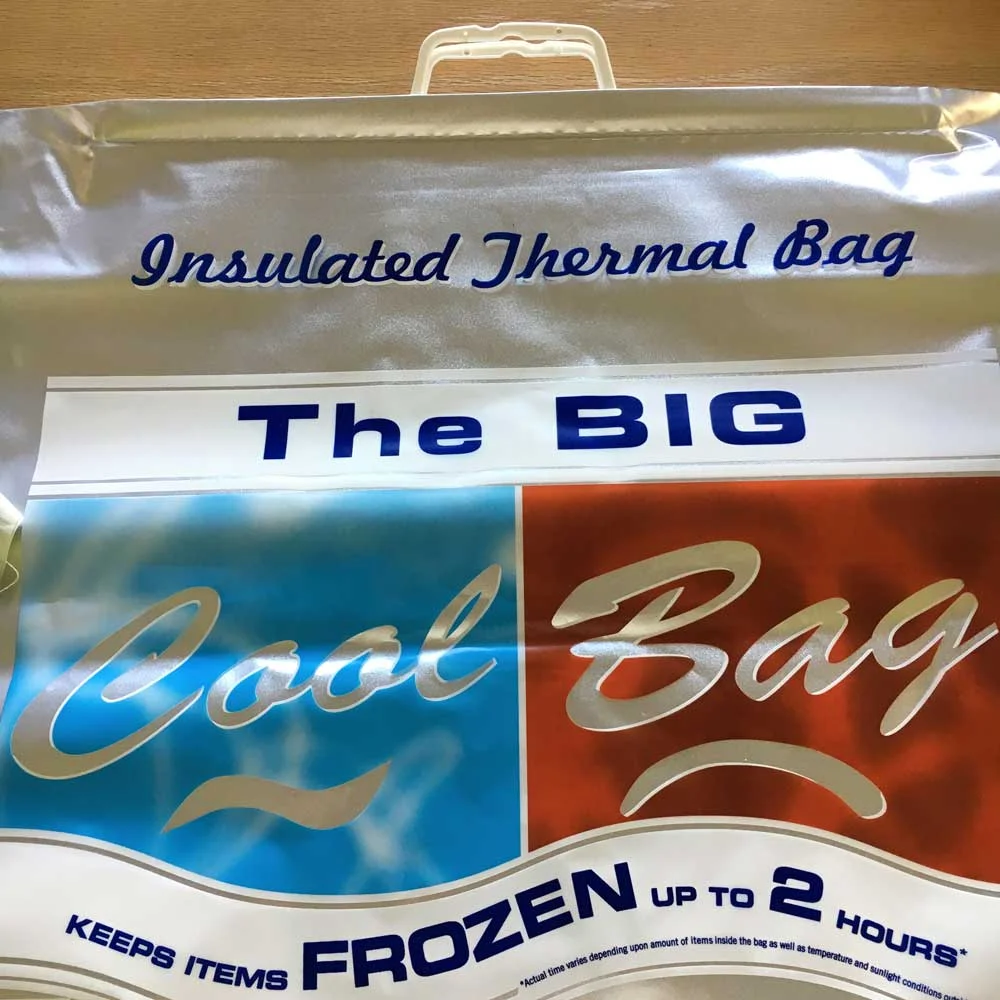
Sep 23 2013 - When your insulated cooling needs require size but not bulk a cooler bag is the answer. Fill the insulated cooler bag with desired contents then grasp both bag sides together roll down as you would a lunch sack and secure the Velcro. Apply a single piece of Velcro to each piece of the inner lining directly in the center of the fabric and stitch it into place.
Ready for a bike-ride picnic or a trip out to the family lunch on the weekend. 1 piece stitch-in hook and loop velcro 6cm long. Fold bottom edge of webbing 12 towards wrong side.
If you want to know how to make an insulated lunch bag you can find the rest of the steps required in the YouTube video that weve included below. To learn how to make the insulated lunch bag click here. An easy-to-clean vinyl lining.
Place a strip of Velcro horizontally across the bag. Amazon Prime which offers doorstep drop-offs from Whole Foods uses silvery plastic padded bags when packing up refrigerated and frozen items. 1 piece plain fabric for base 18cm x 26cm.
1 plastic toggle to secure cording. Cut two 45 cm 18 inch lengths of 32 mm 1 14 inch wide cotton webbing for the handles. A special insulating batting is inserted between the lining and exterior layers to help keep the bags contents at the appropriate temperature.
And to thank you for over 8 million views to the Renegade Seamstress Id like to give the lunch bag and the snack bag away to one of you. Find center of purse and measure out 3 on both sides. For a smaller snack bag I made 6 12 inch squares.
Repeat for opposite side of bag. Stitch with a 38 seam allowance down the side along the bottom and back up to the top. Sew a straight line across bottom of triangle.
Start by cutting out two pieces of cotton fabric and two pieces of the cooler bag material in the same size. After you have sewn the corners place a ribbon or bias tape on the bottom of the pocket and stitch to close the pocket. Repeat for other side.
Insulated bags loaded with yummy items. Try to catch the outer fabric the insulated interfacing and the lining all in the stitching. A large-sized cooler bag made from aluminized Mylar.
I also added a zig-zag stitch for added strength at the top of the each side of the handle.
 Vikalpah How To Sew An Insulated Tote Bag
 An Insulated Laminated Lunch Bag Goes Back To School Sew4home
 Creating My Way To Success Insulated Bag Tutorial
 Diy Insulated Grocery Tote Bag
 How To Make An Insulated Snack Bag Pam Ash Designs
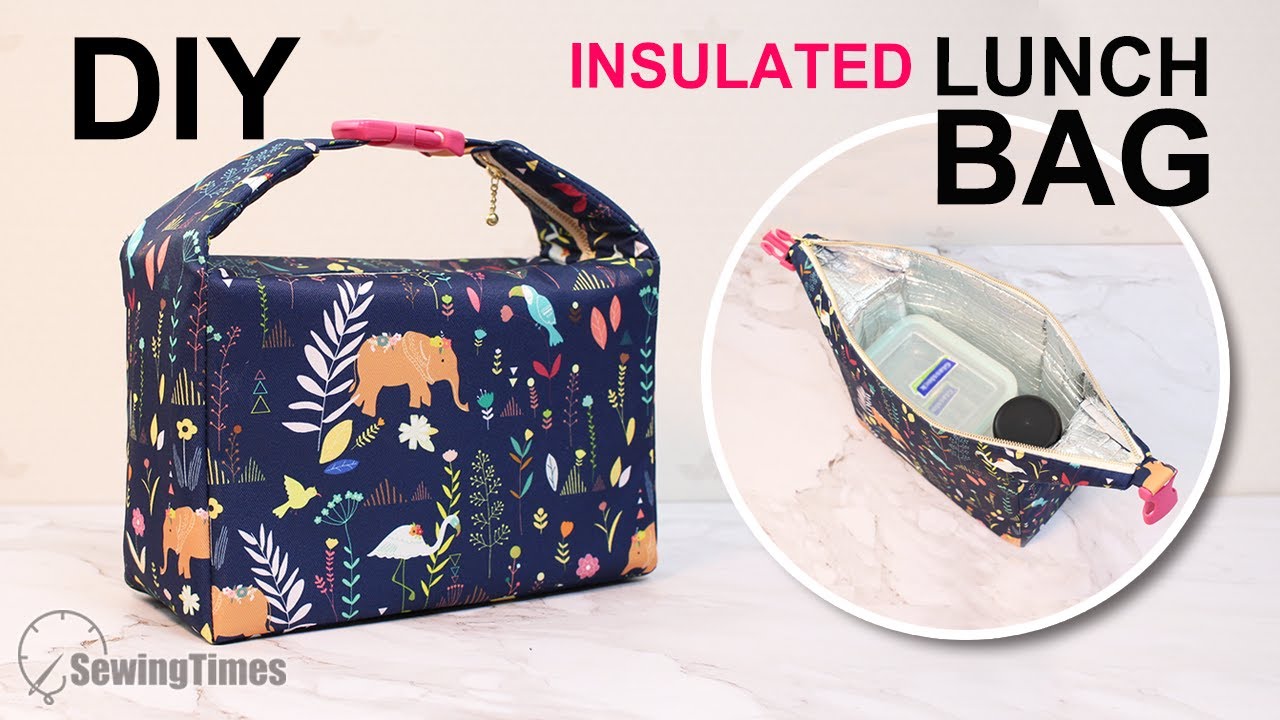 Diy Insulated Lunch Bag Waterproof Picnic Bag Tutorial Sewingtimes Youtube
 Insulated Lunch Bag The Sewing Rabbit
 Creating My Way To Success Insulated Bag Tutorial
Diy Thermal Insulated Lunch Bag For Back To School Living Ideas
 Diy Projects How To Make An Insulated Lunch Bag
 Diy Projects How To Make An Insulated Lunch Bag
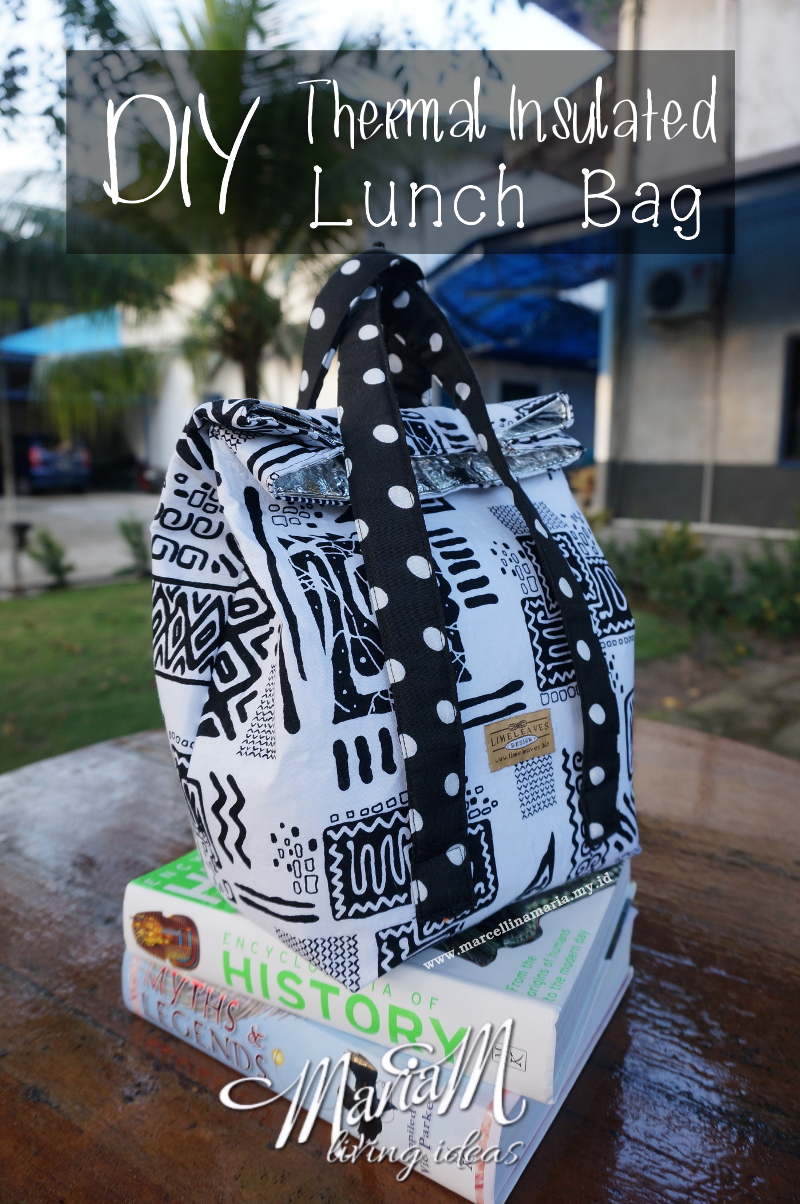 Diy Thermal Insulated Lunch Bag For Back To School Living Ideas
 Diy Thermal Insulated Lunch Bag For Back To School Living Ideas
 Diy Thermal Insulated Lunch Bag For Back To School Living Ideas
Comments
Post a Comment